A round brush and a blow dryer are all you need to style your hair. Follow these tips and you are sure to feel like you just stepped out of the hair salon.
There are two types of round brushes: large and small. The former are for long hair, the latter for short hair. With round brushes you can add volume, lift the hair at the roots, curl the ends of your hair, or create waves or curls. Blow-drying is also important when styling. If you do it the right way, your hair will be smooth and shiny instead of dry, tangled and frizzy.
A few starting tips
For thick hair, a brush with thick, natural bristles like boar is best. If you want to create volume, choose a model with plastic bristles. Ceramic-bristled brushes distribute the heat evenly and help you create your desired style more quickly.
Before you start styling your hair, prepare it properly. Wash your hair, condition it and allow it to air dry. Don’t start styling until your hair is about 70-80% dry.
If you have thick, long and heavy hair that takes a long time to dry naturally, you may want to dry it a bit. Be sure to apply heat protectant spray or your favorite oil, or even liquid silk. Silk protects the hair from mechanical damage and from the negative effects of hot air. Apply the product from ear level to the bottom of the hair shaft, paying special attention to the ends, which are most vulnerable to damage.
Essential Accessories
For styling you need:
a round brush,
a hair dryer,
a comb to separate your hair,
a large bobby pin or a hair clamp,
you may also need styling mousse or hairspray to hold the style in place.
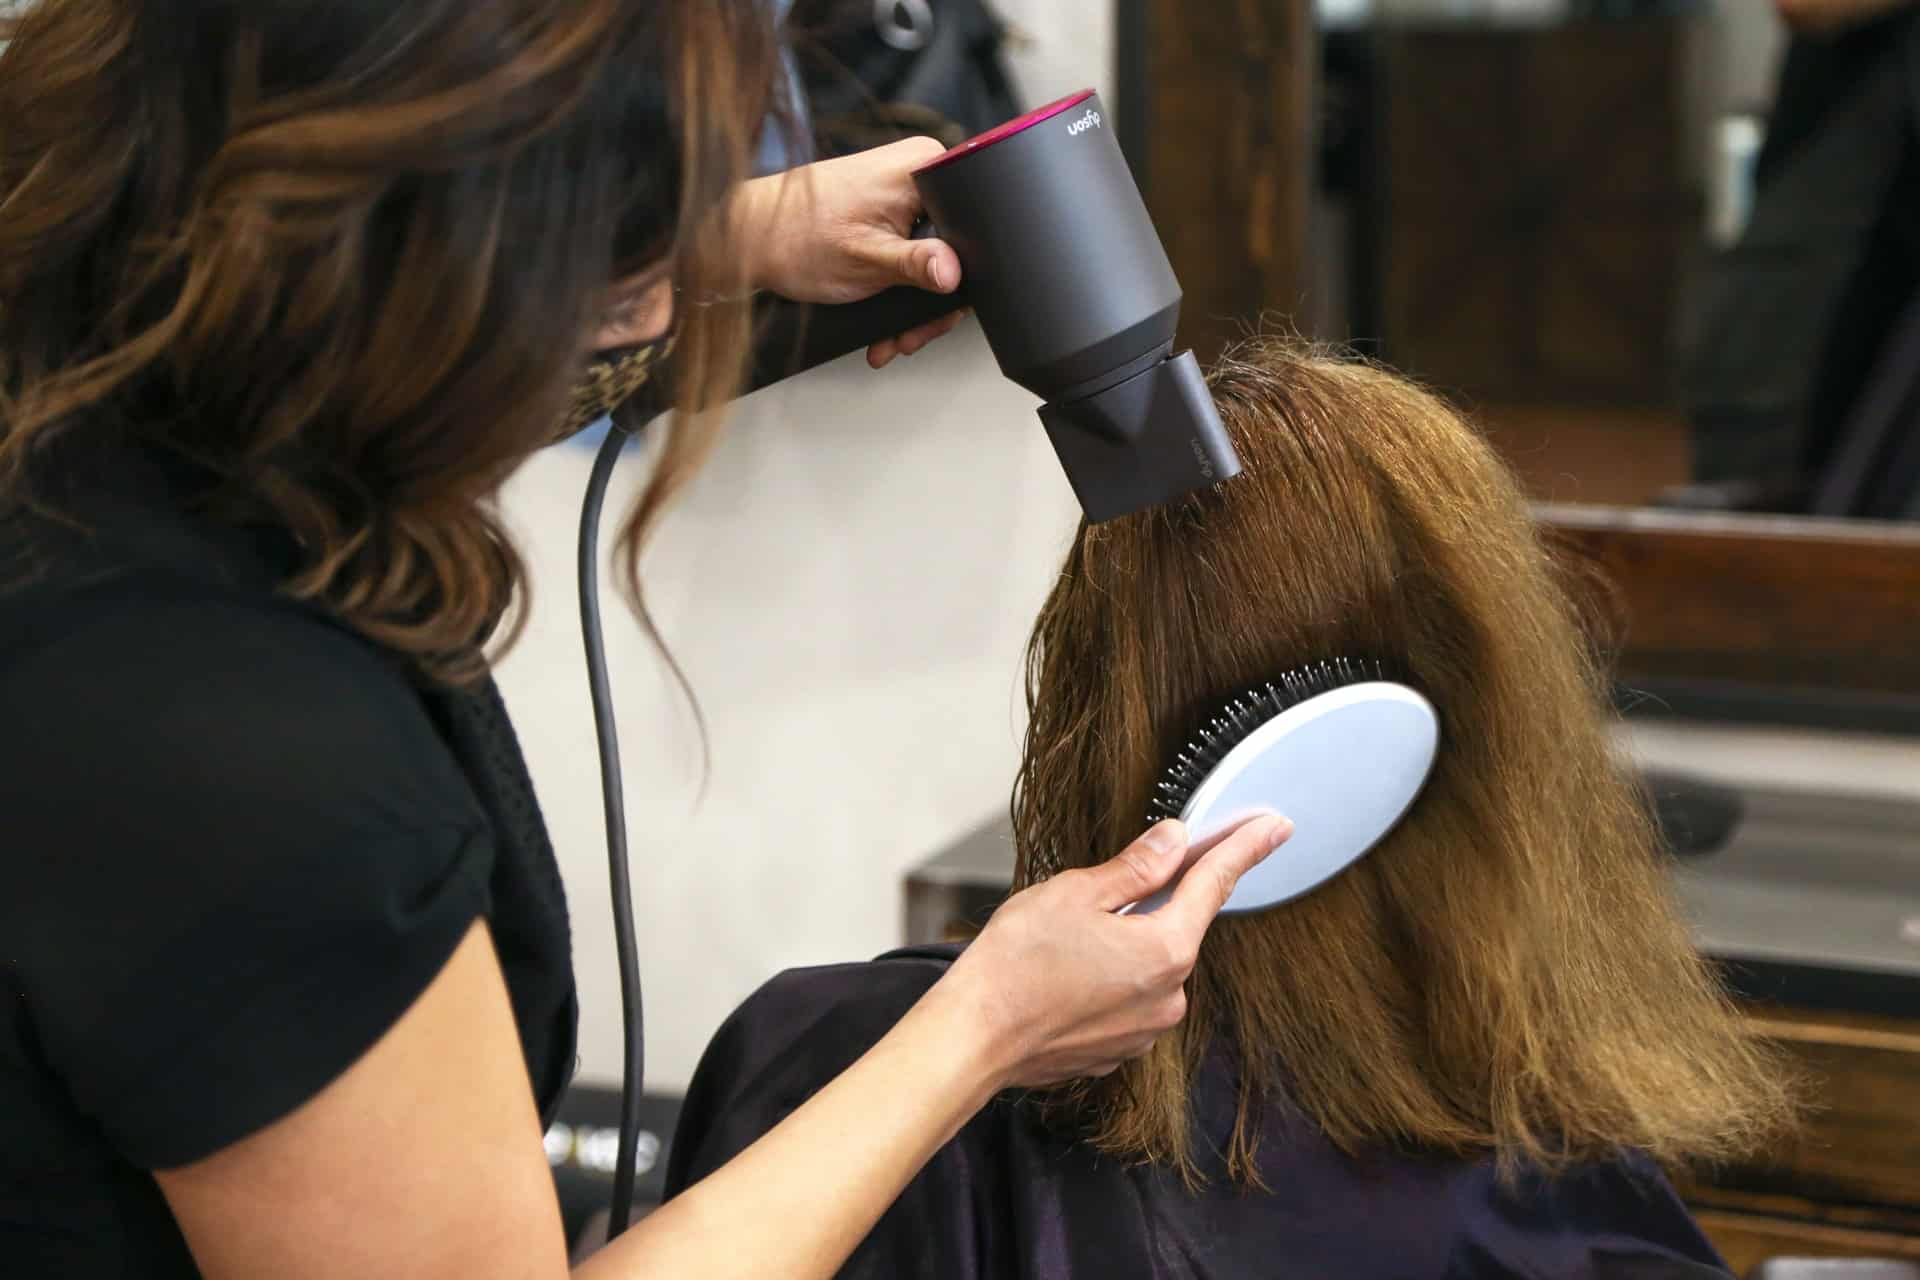
How to Style Your Hair Using a Brush
Once your hair is ready you can start styling.
First, separate your hair into upper and lower sections. Leave only the blow-dried and styled strands undone and secure the rest of your hair with a clasp or a hairpin.
Start styling the hair in the back of your head. Start by wrapping one strand at a time (from underneath) around the brush so that the brush bristles are still visible.
Once you have winded up a strand of hair you may start blow-drying it. It is important not to hold the hair dryer too close to your hair. The optimal distance is about 10 cm. Always blow-dry your hair in the direction of hair growth so that it looks smooth and shiny. If you blow-dry your hair in the opposite direction your strands will look dull.
Turn the brush with the rolled up strands of hair around and pull them down while drying. At the roots you may want to hold the brush longer or move it upward slightly to create volume. Repeat this process until each strand is dry.
Continue doing this for each additional strand of hair. You can curl your hair inward or outward depending on how you like it.
If your hair dryer has a cool setting, you may like to blow dry your hair with cold air. This smoothens the hair and makes it less vulnerable to damage. Finally, depending on your preference, spray your hairstyle with hairspray or apply a fixing mousse.