Crocheting is a great way to relieve stress, and is also a beautiful creative work. We suggest what you need to start the adventure with crocheting. Find out how to crochet doilies step by step
How to start crochet?
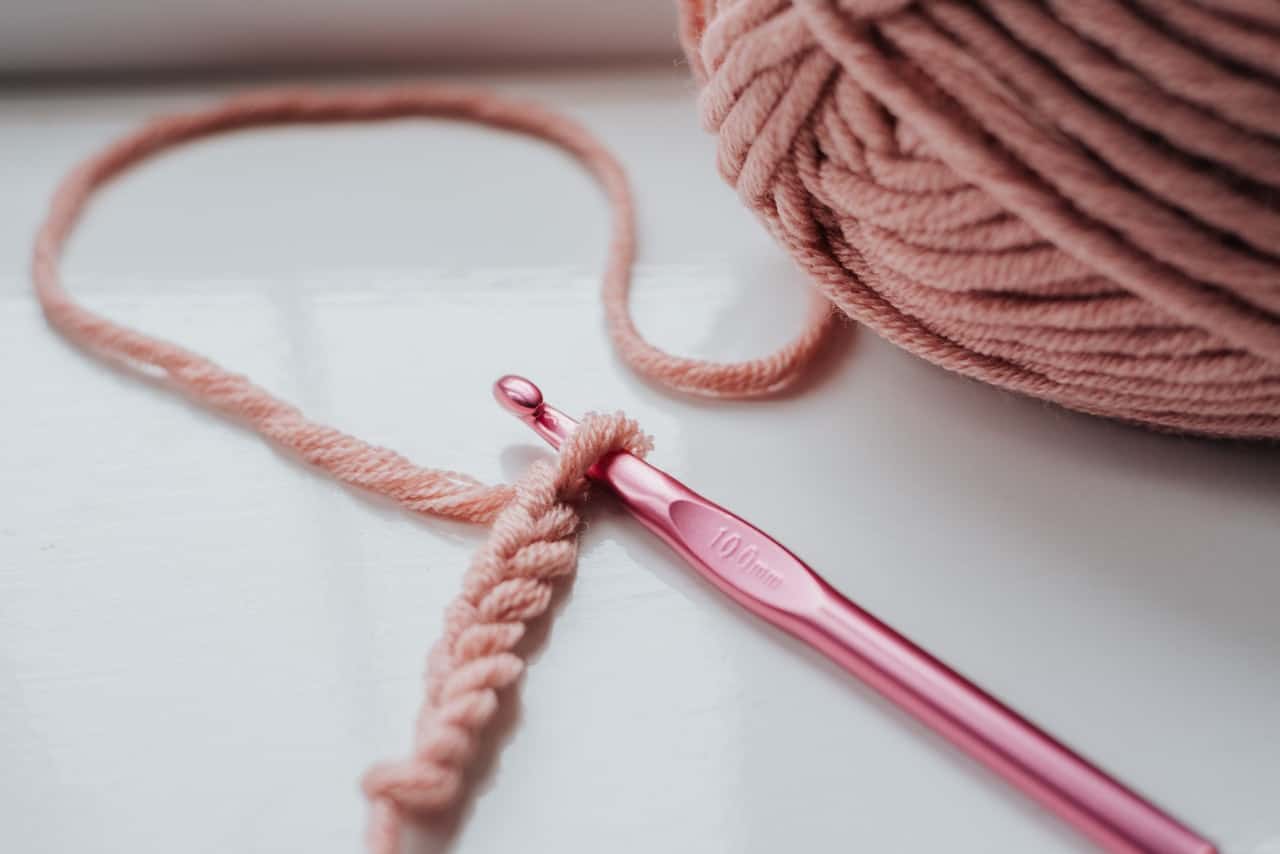
To start the adventure with crocheting need yarn, crochet hook, scissors and markers (for marking subsequent rows). All this can be found at any haberdashery. Crochet should be selected depending on what size doily you want to knit. Generally, a thicker yarn, the thicker should be crochet. Most often on the package is placed cordonka manufacturer’s suggestion what size crochet to match the yarn
Step by step instructions
- Do magic ring – that is, two fingers wrap cordon around their width. Insert the crochet hook and catch the second yarn on the crochet hook. Pull it out and twist it into a loop shape.
- Pull one finger out and make a single chain eyelet.
- You can make the circle smaller to crochet the first row comfortably.
- Make one more chain eyelet and then the bedspread. You need to knit into the center of the circle and make two posts joined by the top. The first step is just to make the posts joined by the top. Be sure to make the fret constantly and enter the circle. When you manage to make 3 loops, join them together.
- It’s a good idea to pull the cordon so you can crochet more comfortably. Between the posts joined by the top, make two chain eyelets and again the bedspread. Then add another three top-joined posts. Repeat the process until you have four strands on your crochet hook, work them into one by carefully pulling the crochet hook through all four strands.
- Repeat until you have eight “petals” in the center of the doily, remembering to separate them with two chain eyes.
- Behind the last petal, make another two eyelets and join the row into the collective eyelet of the first petal. Join the whole with a close eyelet. Turn the knitting over and pull the “obstructing” end, being careful not to make a hole. The thread should be tucked in the back of the posts so that it does not interfere with further work. Cut it off later.
- Start the second row with five consecutive eyelets – after the overlap, make a post with 3 consecutive eyelets and stick into the gathering eyelet of one petal. This is exactly how this row will look. There should be one bar on each petal.
- On the last petal, count off 3 stitches from the top on the post. Knit there with a crochet hook and make a close eyelet. Immediately start the third row with three chain eyelets – the same way you will start the last row.
- It is important to make an interval of three chain meshes between the motifs and repeat: two bars + two meshes + 2 bars + interval (3 meshes).
- Then connect the last one with the first eyelet – there you need to insert a crochet hook and make a close eyelet.
- Start the last row identically to the third row. Remember about the spacing as in the case of the third row – however, the spacing in this case will look as follows: two posts + markup + spacing (1 eyelet)
- At the end, join everything the same way as before, i.e. with a close eyelet. Hide the thread.
Source: www.aniaradzi.pl