Nothing says summer like an iron grill bbq. Enjoying a delicious meal cooked over an open flame is a timeless way to spend time with friends and family. If you’re looking to impress your guests with your outdoor cooking skills, here’s everything you need to know about organizing an iron grill bbq like a pro!
The first step to having a successful iron grill bbq is to make sure you have all of your ingredients. Start by compiling a list of what you need, such as your preferred cuts of meat, marinades, seasonings, sauces, and sides. Once you have your list, go shopping and make sure to stock up on everything you need. If you plan to marinate your meat before grilling it, make sure to give yourself enough time for the marinade to do its work. Depending on the type of meat you are using, you should allow for at least 4-6 hours for the marinade to tenderize and flavor the meat. It’s also important to choose the right cut of meat for the best results – leaner cuts like top sirloin, flank steak, or tenderloin are generally best.
For sides, you can choose whatever your heart desires, but if you are looking for some inspiration, consider making a side salad, grilled corn on the cob, or some grilled potatoes or vegetables. To really make your meal special, don’t forget to pick up some buns or rolls so you can make sandwiches or burgers. Once you have all of your ingredients, you can move on to prepping and seasoning your meat.
When it comes to seasoning your meat, there are many options. You can use store-bought marinades, rubs, and sauces, or you can make your own. Whatever you choose to season your meat with, make sure it has a high-fat content as fat helps to keep the meat moist while it cooks. Start by rubbing the marinade, rub, or sauce into the meat until it is evenly coated. Let the meat sit for at least 30 minutes before cooking to allow the flavors to really sink in.
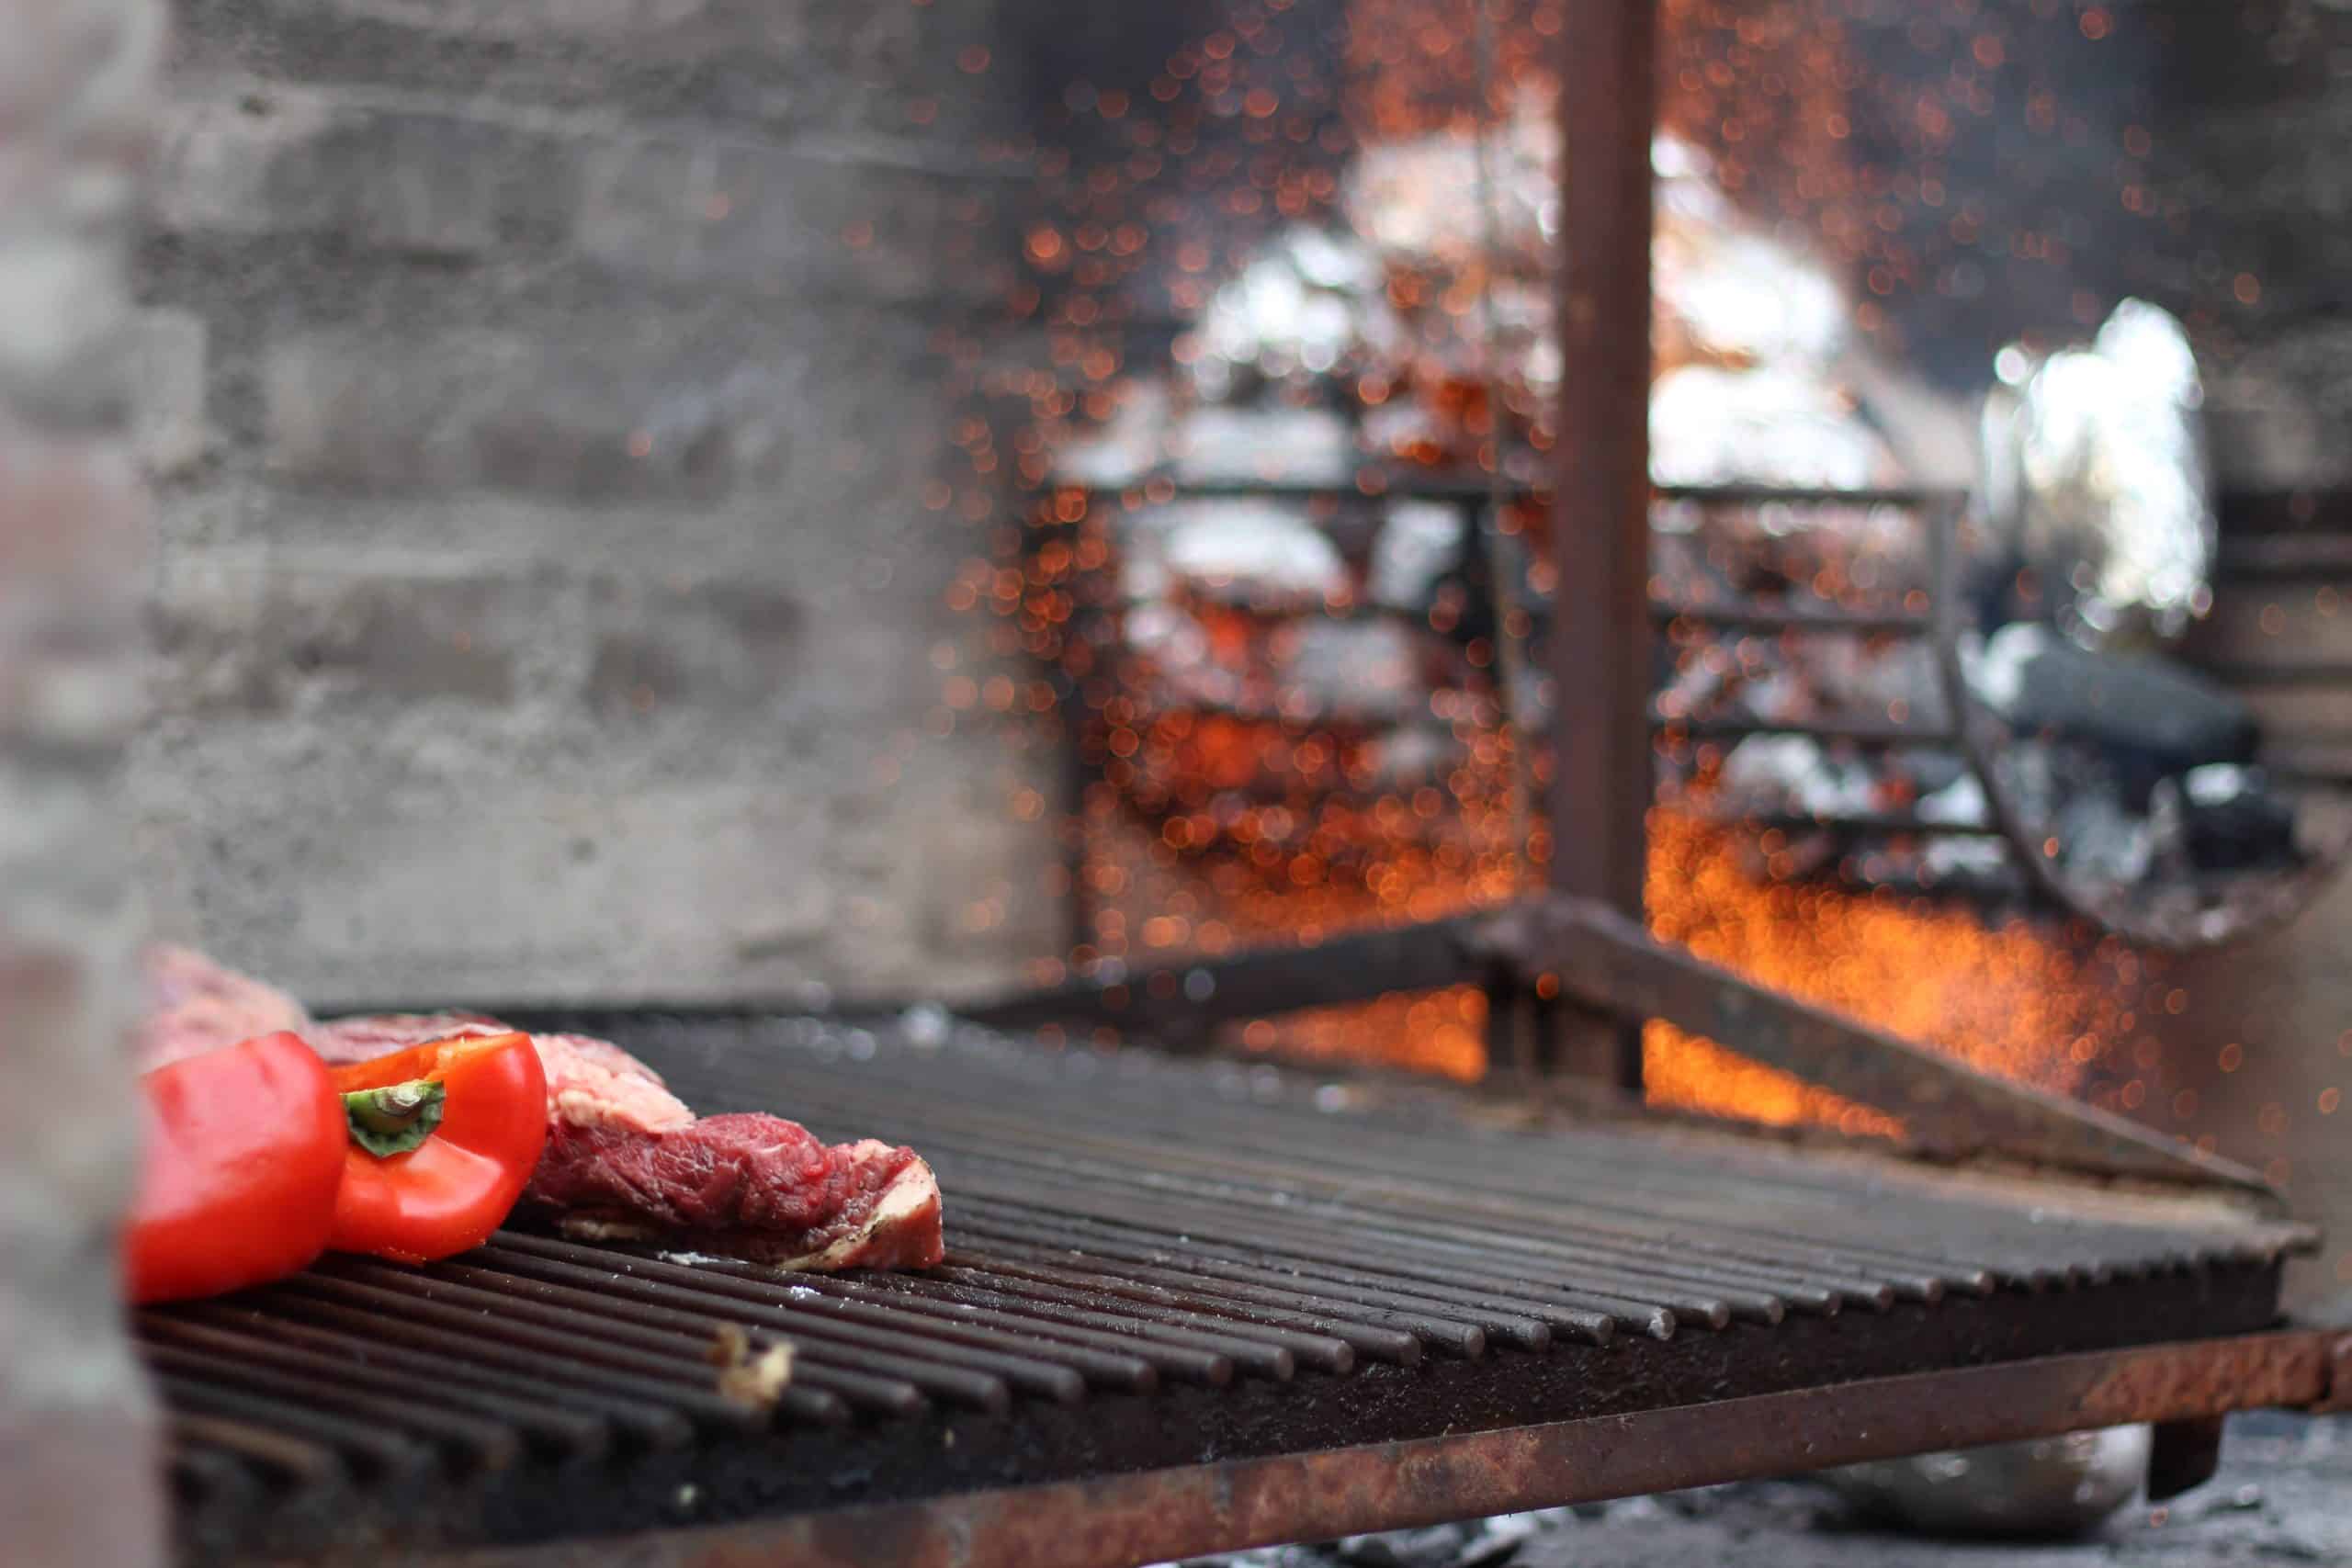
Before you start grilling, it’s important to make sure your grill is preheated and ready to go. To preheat your grill, start by opening all the vents on the lid and lowering the temperature control to its lowest setting. If you’re using charcoal, light it and let it burn until it’s evenly distributed over the entire surface of the grill. Once your coals are evenly distributed, adjust the temperature control to a medium-high setting. For gas grills, open the valve on the propane tank and turn all burners to the high setting. Close the lid and allow the grill to heat up for 15-20 minutes. Once the temperature has reached 400-450 degrees, you’re ready to start grilling!
Main photo: Mike Kotsch/unsplash.com
Sponsored text