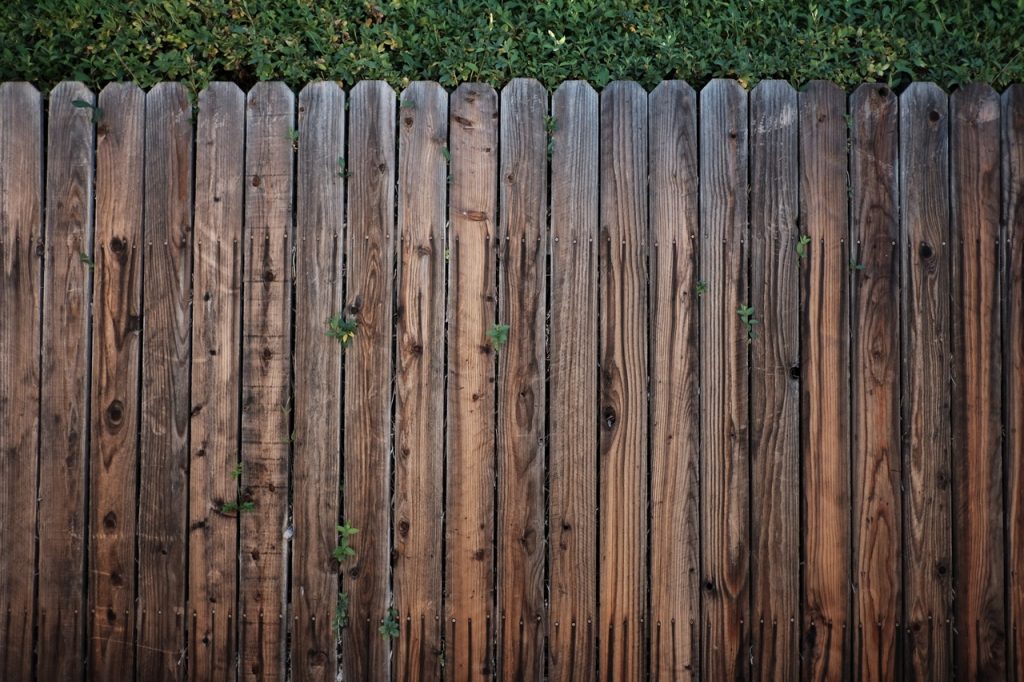
A wooden fence is a particularly impressive fence. However, every day it is exposed to changing weather conditions. To make it look good and not get damaged, it should be regularly renewed. We suggest how to get down to the renovation of a wooden fence, step by step.

To make sure the job goes smoothly, it’s a good idea to get organized early on, so start by preparing all the tools you’ll need to refinish your fence.
Renovation starts with cleaning the fence and should be done a few days before painting so that the boards have time to dry completely. Flaking paint, moss and lichen that may have appeared on the fence all need to be thoroughly removed. The best tool for this process will be a pressure washer or alternatively soapy water and a strong brush. It’s best to use a wire brush to clean up any remaining paint.
Before you start painting, it’s a good idea to shield any items near the fence or on the fence that could get dirty
Among the protective measures to choose from, we have protective paints, varnishes, and the option of painting the wood. The latter, however, is expensive, and besides, applying a layer of varnish makes the wood lose its ability to breathe and, consequently, its coating may peel off faster. It is important that the product purchased is of good quality and actually has wood-protective properties. It is best to choose wood-protective paints or wood-protective stains. When painting a wooden fence, remember that it is best to spread the chosen impregnant along the grain of the wood.